We’ve been making a point to camp together once a month. It’s an easy enough goal when it’s just a local overnight trip, but the reward is huge. We get to spend quality distraction-free time together, the kids have learned to love camping, and we get some golden recipe testing out of it.
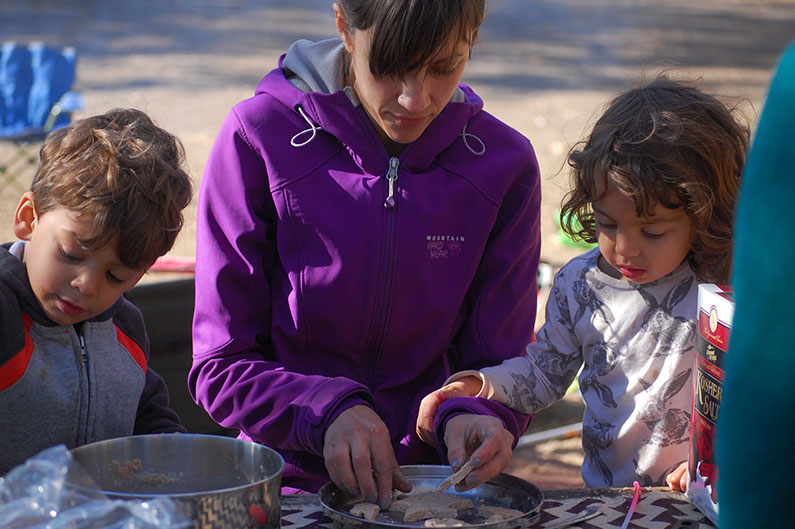
This weekend, we wanted to focus on the holiday season while camping at Leo Carrillo (our favorite standby local spot- especially in the winter). We decorated camp in festive lights and centerpieces, and played Christmas music that we’d downloaded onto our phone before the trip. We’ve been doing mostly homemade gifts for each other this year, and wanted to start a tradition of homemade ornaments as well.
I wasn’t sure about this salt dough ornament recipe, but it worked out great on the campfire!
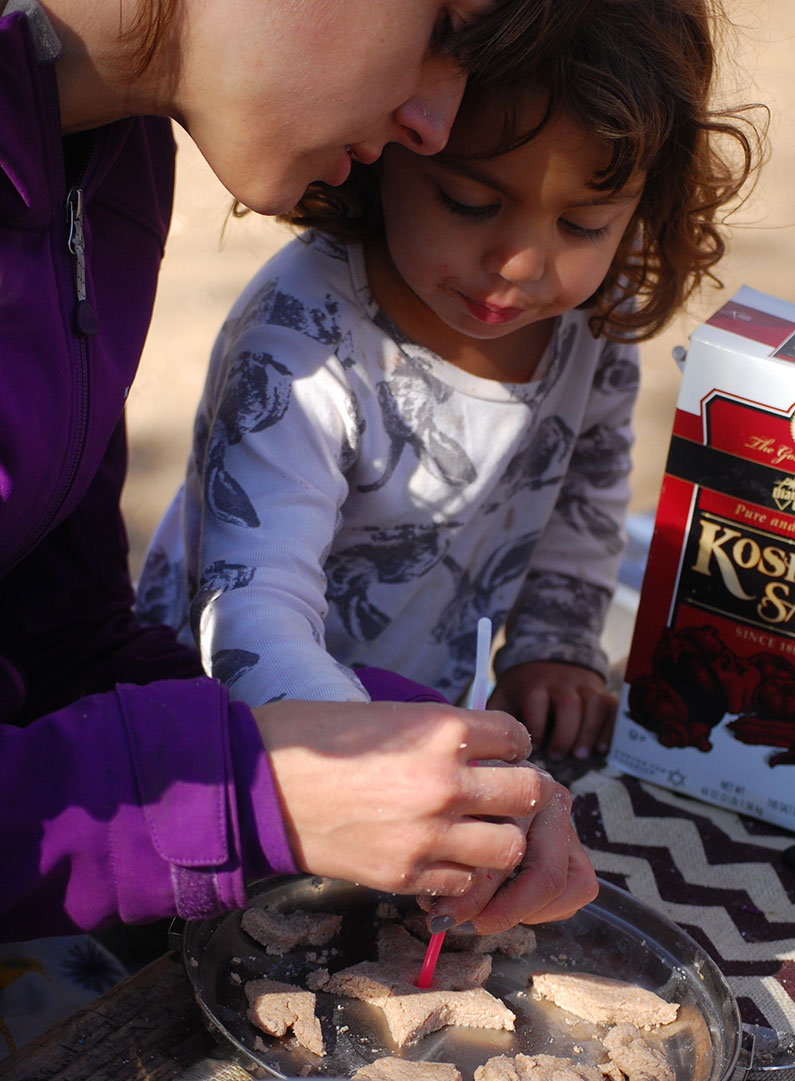
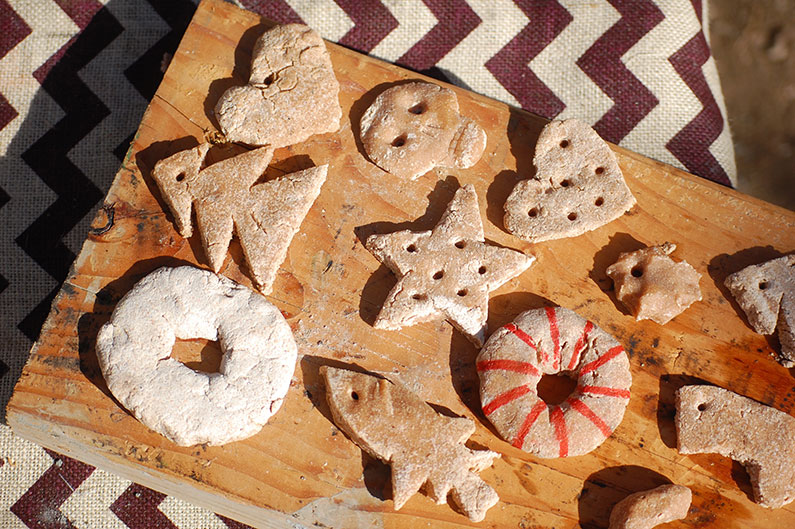
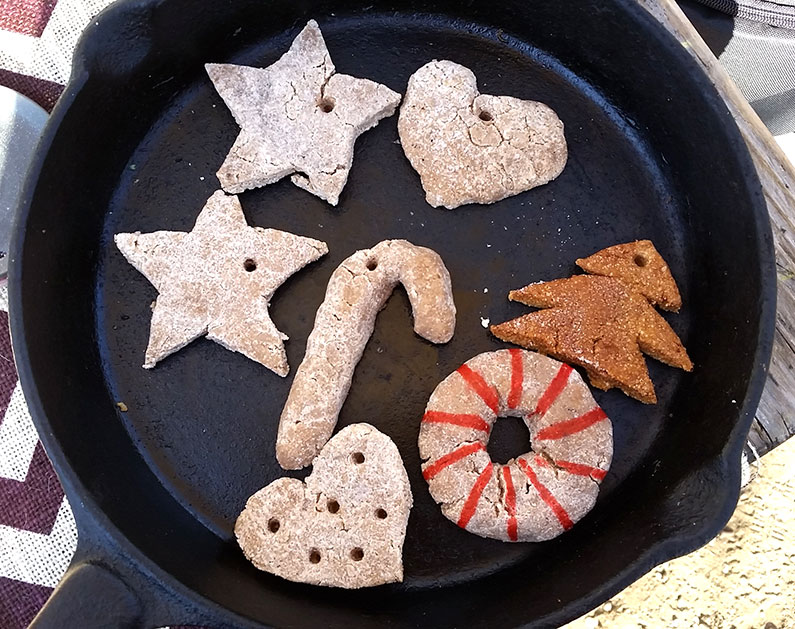
Salt dough is a quick and easy dough that you can easily make at camp with kids. It becomes the consistency of Play Dough, and you can shape it into whatever you want. We made one in Ravi’s favorite shape- an ‘O’- and another in Asha’s favorite shape- a rocketship.
A few notes:
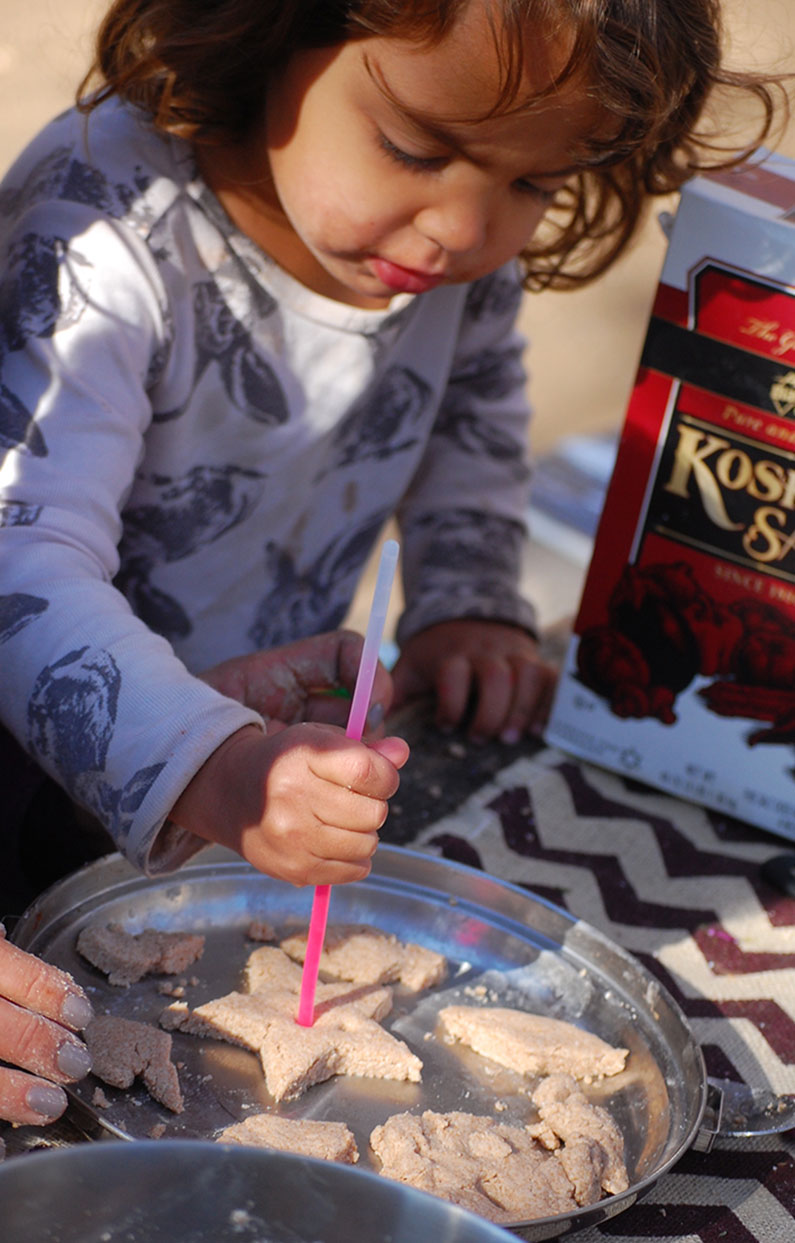
- When forming your ornaments, don’t forget to poke a hole for a string to feed through later. We used a glow stick bracelet as our hole poker, but a stick would work just fine.
- The children tried to eat the ornaments as soon as I handed them over. They do resemble cookies, but they do not taste like them. Don’t worry- there’s nothing toxic or dangerous in the dough if this happens to you.
- Cookie cutters work great for this project, but I just cut out freehand shapes with a knife.
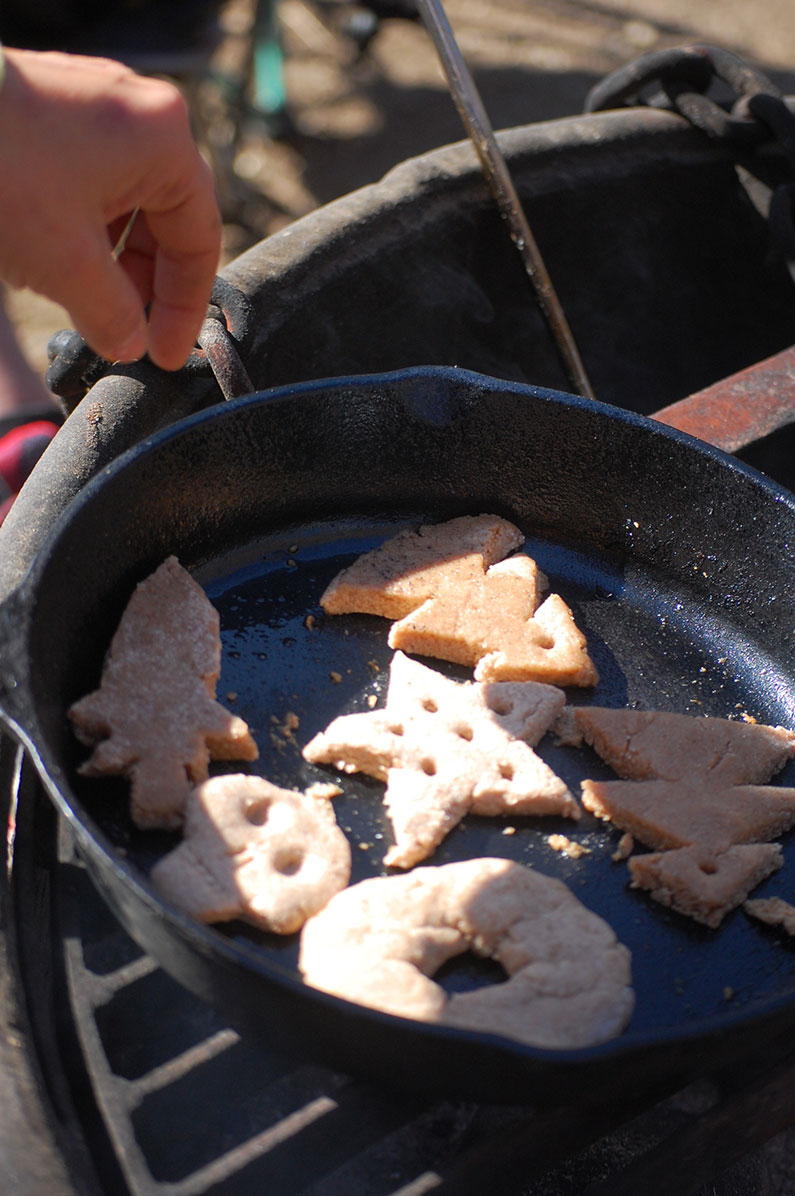
- The original recipe for these suggested to bake them in a low oven for 2 hours. I tried baking one in a pie iron directly in the fire, and the rest were done in a cast iron skillet on the grate. All dried out well. The one baked in the pie iron turned a lovely golden brown.
Decorate your ornaments with markers or paint after they dry. Then hang them all over camp, or on your Christmas tree back at home. Happy Holidays!
Salt Dough
Yield
15-20 OrnamentsPrep Time / Cook Time
/Activity Guide
Car CampingIngredients
- 2 cups flour
- 1 cup salt
- 2-3 cups water
- Cooking spray
Tools
- Campfire
- Cast iron skillet
- Cutting board
- Knife
- Large bowl
- Measuring cups
- Cookie cutters (optional)
- Pie Iron (optional)
Method
- Mix flour and salt together in a large bowl.
- Add water, 1 cup at a time, and mix with your hands. Stop adding water when the dough resembles the consistency of play-dough. It should hold together and be workable into shapes.
- Shape your ornaments into any (flat) shapes that you’d like. Use cookie cutters, a knife, or simply your hands to do this.
- Poke a hole at the top with a stick or something similar. It just needs to be big enough to feed a string through later.
- Oil your cast iron skillet or pie iron, and place ornaments inside.
- Place ornaments in or over the campfire in a location that doesn’t get direct flame. Let dry for up to 2 hours, until ornaments are hard.
- Let cool, and paint or decorate with markers. Hang on your tree.

